Blueberry Syrup

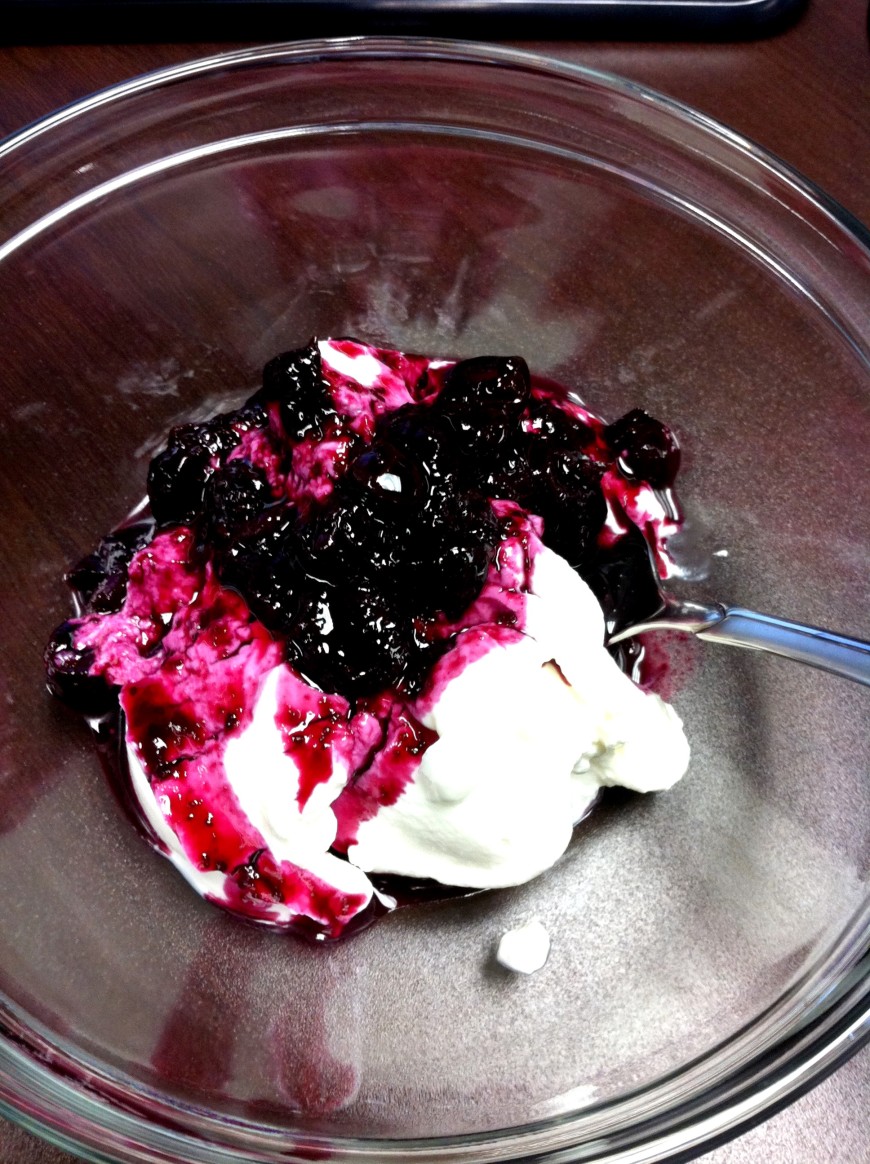
Blueberry Syrup and yogurt

Blueberry Syrup and yogurt

What do you do when you’ve got a lot of blueberries that are about a day away from going bad?  …Well yes, I suppose you could eat them in a desperate blue frenzy, but I had my sights set on something different.  Something sweet with a very slight hint of vanilla.  Something that would go with my pancakes and yogurt.

I’ve got two words for you: Blueberry. Syrup.

As you can see from the photo, I didn’t whip up the berries to make a smooth syrup.  I opted to keep the berries whole.  Which I suppose makes this recipe a fruit compote of sorts, but because this still has a more syrupy consistency, I’m sticking to my guns here and calling it syrup.

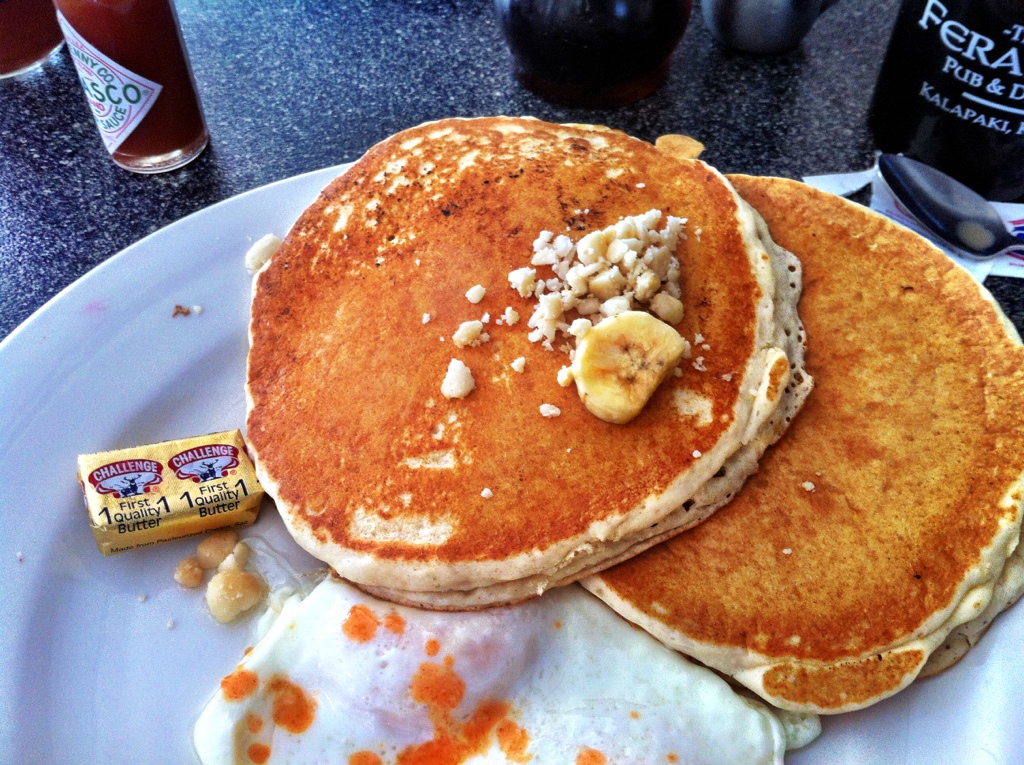
It was delicious on our pancakes last weekend (recipe to come soon), and it was amazing on my yogurt.  Make this stuff and you will never buy “fruit on the bottom” yogurt again.  I promise.

Blueberry Syrup

Makes about 1.5 cups of syrup

¼ c. water

¼ c. granulated sugar

Juice of ½ lemon

1 ½ c. fresh blueberries, washed

½ tsp. of vanilla extract

In a saucepan on medium-high heat, bring the water, sugar and lemon juice to a simmer, being sure to dissolve the sugar.  Add in the vanilla extract and blueberries.  As the berries cook, break them up with a heat-proof spoon.  Keep the berries to a light simmer for about 20 minutes (until the mixture thickens to a syrupy consistency).  Once it’s done, let the mixture cool a little and take a hand blender and process the blueberries until smooth.  Or you can just let the berries be and have sort of chunky syrup.  Either way, the results are delicious!

Try out the recipe and let me know how it turns out!  Enjoy!

Aloha!

Aloha, dear readers!

I’m currently waiting at my gate to board my flight to Kauai. I’m not gonna lie, I’m pretty effing stoked. For several reasons.

Reason the first: I get to have my first real couples vacation with le boyfriend.

The second: I need a vacation. I haven’t had one since August 2011.

The third: I get to go to Hawaii for the first time!!’

The fourth: I’m going to eat delicious food and imbibe amazing drinks and I’m going to share all the photos and details with you!

I’m also excited to get back to blogging regularly. If you read le boyfriend’s blog, you’ll know that we recently broke our lease. We’ve temporarily moved in with my parents and things have been very hectic between moving, finding a new place, finding furnishings for the new place, doing dog adoption, finding a job that I actually like, and getting ready to leave for 5 days. Oh, and then we’re moving again the weekend after we get back. Oy vey.

I’m excited to share the upcoming happenings with you! Until then, I’m going to hop on this plane!

California Cottage Foods Law Approved by Governor!

Hi everyone!  I’ve got some exciting news: California Assembly Bill 1616, also known as “The Cottage Foods Law,” was approved by the Governor on Friday, September 21!

Do you know what this means!?

This means that I may be able to pursue this crazy dream of baking as a side hussle!  Of course, lots of details have to be ironed out; however, here’s what makes this law special:

All food businesses are subject to a whole slew of county, state, and federal regulations in the manufacture and sale of their products.  The Food and Drug Branch (“FDB”) of the California Department of Public Health “regulates the manufacture, processing, storage and distribution of food products in California.”  The manufacture, storage, and sale of food products are governed by the California Retail Food Code (“CRFC”), which is enforced by county health departments.  And finally, the Sherman Food, Drug, and Cosmetic Law regulates the labeling and advertisement of processed foods sold in the state.  Needless to say, it is damn near impossible to start up a small business from your own home while navigating the red tape of food regulation.

As it stands, businesses that wish to sell processed foods (which include baked goods) must obtain a Processed Food Registration from the FDB.  It’s basically a license that allows businesses to “legally manufacture, package, label, or warehouse food in California.” However, obtaining that license can be costly, especially for small businesses that don’t have a brick and mortar establishment.  If I want to go sell my cookies to a local coffee shop, I have to get that license.  But to get it, I need to show the County Health Department that I’m making all of my products in a certified kitchen (which I obviously do not have).  To get myself into a certified kitchen, I have to show proof of general liability insurance, have ServSafe Certification (a “Food Handler’s” permit), and put down a $500 deposit.  Then, I have to pay anywhere from $25-$40 per hour for use of the kitchen space (assuming the space is even available).   None of this includes the required business registrations, either.

I think we can all agree that these costs would eat out a huge chunk of my bottom line.  Instead of paying myself $25 an hour for the work that I do, I’m paying a certified kitchen.  That brings up the cost of my goods, and then my customers have to eventually eat those costs (no pun intended).

So what does the Cottage Foods Law do?  It carves out an exception in the CRFC requiring processed foods to be created in a certified kitchen.  Cottage Foods operations are, therefore, not required to obtain a Processed Food Registration!  However, they are still required to obtain the proper permits for their operation, to obtain food handler certification, and properly label foods as home made products.  You can see more about the amendments here.

At the end of the day, each respective county is going to be responsible for determining what standards are to be met in the granting of these licenses.  But this law gives me, and hundreds of local home bakers, the opportunity to create beautiful and delicious products that can be sold legally.  I’m excited to see what L.A. County decides.  What do you, dear readers, think of this?

In the meantime, folks, keep baking.  Keep dreaming.  And always get the cake!

French Herbed Chicken with Roasted Asparagus and Sauteed Mushrooms

Bon sua, dear readers!  I don’t know what came over me last night, but I felt compelled to make something with a little French flair (or Fronch as I like to say).  I must have been coming off of a … Continue reading

The Chocolate Pubcake

What is a “pubcake?”  Because Urban Dictionary hasn’t defined it (yet), let me break it down for you:  it’s a glorious combination of all things you want to find at your local sports bar: salty pretzels, peanuts, and beer.  And for good measure, I’ve added chocolate.  Because who don’t like no chocolate?

I used chocolate stout in the cake batter and made a super simple chocolate buttercream then topped them off with peanut butter filled pretzels.

“Trish, how did you come up with such a novel idea?”  Simple: I didn’t.  While I’m flattered by your assumption, the fact is that I did not come up with the brilliant combination of stout, chocolate, and pretzels.  I was actually inspired by a post from Baker’s Royale called Beer & Pretzel Cupcakes.  You should check it out, it’s pretty awesome.

I was determined to pair a fabulously flavored and moist cake with a simple light chocolate buttercream.  I searched far and wide on the internets and wasn’t really happy with what I was finding.  I have this weird sense for when a recipe is kinda “meh.”  So I went to one of my absolute favorite food blogs, Smitten Kitchen, to find a cake recipe that would fit the bill.  As usual, Deb delivered.  She adapted a recipe from the Barrington Brewery in Massachussetts; and I, in turn, adapted her adaptation.  I used chocolate stout instead of Guinness because I wanted a richer chocolate flavor.  I left out the chocolate chips because I wanted the stars of the show to be the frosting, cake, and pretzels.

As far as the buttercream, I wanted something that wasn’t too rich.  I wanted something to really complement the richness of the cake and the salty crunch of the peanut butter pretzels.  So I found a fabulous recipe at The Savory Sweet Life.  It’s a classic buttercream that  melts in your mouth, but isn’t too sweet (despite containing about three or four cups of powdered sugar).

And why peanut butter filled pretzels?  Well, they’re freaking delicious, so I don’t need much more of a reason than that.

Alright, enough chit chat.  Let’s get to it!

Makes 24 cupcakes

Chocolate Stout Cake

Adapted from Smitten Kitchen

  • 2 c. of all purpose flour
  • ¾ c. of unsweetened cocoa powder
  • ¾ tsp. of salt
  • 1 ½ tsp. baking soda
  • 1 c. (2 sticks) of unsalted butter
  • 2 eggs
  • 1 1/3 c. white sugar
  • 2/3 c. brown sugar
  • 1 c. Young’s Chocolate Stout
  • ½ c. sour cream

Preheat the oven to 350F.  Line two cupcake tins with paper baking cups.  In a bowl, sift together the flour, cocoa, baking soda, and salt. Set aside.

Using a stand mixer (or hand mixer), cream the butter and sugars until the sugars almost dissolve, making a pale yellow paste.  Then, add in the sour cream and beat into the mix until incorporated.  Add in the eggs, one at a time, beating for about three minutes.  Now comes the scary part: adding in the stout.  If you do it without simmering the stout (like I did), you’ll have a weird looking clumpyish batter.  I promise you, this will not affect the flavor or how the cupcakes turn out.  But if you want to play it safe, simmer one and a quarter cups of the stout for several minutes (until the stout reduces by about 1/4 of a cup).  This will also cook off a decent amount of the alcohol as well.  So, we’re adding in the stout until it’s evenly mixed in the rest of the batter.  On to the next thing!

While the mixer is still going on low speed, add in the dry ingredients, about a quarter of it at a time.  After each addition, scrape down the sides of the bowl.

After mixing completely, fill the cupcake tins 2/3 full and place in the preheated oven.  Let them bake for 15-18 minutes, until a knife pierced through a cupcake comes out clean.  Let them cool completely before frosting them.  Which brings me to the next recipe….

Chocolate Buttercream Frosting

Slightly adapted from Savory Sweet Life

  • 1 c. (2 sticks) unsalted butter, at room temperature
  • 3 c. powdered sugar
  • 1/2 c. cocoa powder
  • 1/2 tsp. salt
  • 2 tsp. vanilla extract
  • 2-4 tbsp. heavy cream
  • 72 peanut butter filled pretzels (for garnish atop the frosted cupcakes)

In a large bowl, sift together the cocoa and powdered sugar.   Cream the butter in a stand mixer, or with a hand mixer, until completely smooth.  On the lowest setting, start adding in the sugar/cocoa mix about 1/2 cup at a time, scraping down the bowl after each addition.  After the final addition, you should start to see the mix stiffening up.  Not to worry, because now you’re going to add your vanilla extract and blend.  Then add in the heavy cream one tablespoon at a time.  If you like the consistency after one tablespoon, then you’re done.  I wanted my frosting to be rich and creamy (but still stiff enough to show the swirls from my piping tip), so I added four tablespoons of the heavy cream.  Whip the mixture for several minutes to make sure the frosting will be stiff.  As usual with any frosting, add more powdered sugar if you want more stiffness and more heavy cream if you want it to be more…well, creamy.

On a side note, I’ve decided the word “creamy” is going on my list of inherently gross words.  Like “moist.”  :::shivers:::

Assembly

Now that we’ve got our cooled cupcakes and delicious frosting, it’s time to put it all together.  Now, you can frost these bad boys however you like. You can use a spatula and lay it on thick.  Or you can pipe the frosting on there.  I recommend checking out this tutorial for frosting cupcakes.  This one’s pretty good, too.  Either way, if you’re piping, you’ll need large frosting tips.

Note: don’t be too generous with the frosting of these cupcakes with this frosting recipe.  First, you don’t want the frosting to devour the cake before you do.  And second, you’ll run out of frosting for all 24 cupcakes (like some people here…)

Once you’re done frosting, garnish each cupcake with three peanut butter filled pretzels.  It’s an awesome combo!

Okay folks, I hope you enjoy and please try out this recipe! Let me know how they turn out for you.  Until next time, get the cake!